Managing Micro-actions
Micro-actions are the basic unit, which follows a structured and easy to understand format, designed to carry out a specific set of operations. One or more micro-actions are assembled together to build cognitive or scheduled skills for automating business or IT use cases. Micro-action repository is updated by uploading micro action files either by sourcing in ready- made content from open source libs OR developing custom micro-actions.
Micro-actions page in Creator's Studio enables to:
View the list of available micro-actions
To view the list of available micro-actions, perform the following:
-
Access Creator's Studio from SmartOps home page. Dashboard tab of Creator's Studio is displayed by default.
-
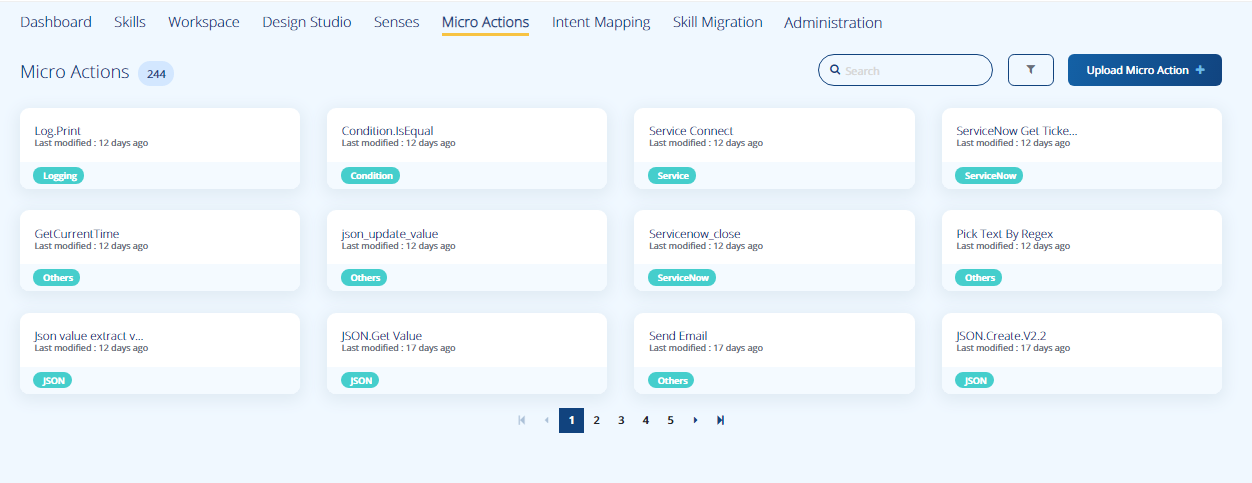
Click Micro actions tab. This displays the Micro Actions page with the list of available micro-actions as shown in FigureFigure.
-
You may search for required micro-action by typing in name of micro-actions (partial or complete name) and click the Search icon.
-
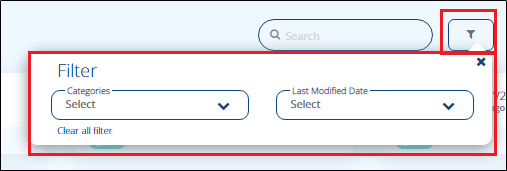
You may also filter micro-actions based on category and last modified date from the Filter option as shown in FigureFigure.
Upload a new micro-action
To upload a new micro-action, perform the following:
-
Access Creator's Studio from SmartOps home page. Dashboard tab of Creator's Studio is displayed by default.
-
Click Micro actions tab. This displays the Micro Actions page with the list of available micro-actions as shown in FigureFigure.
-
Click
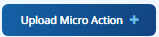 . This displays the Upload Micro Action window as shown in FigureFigure.
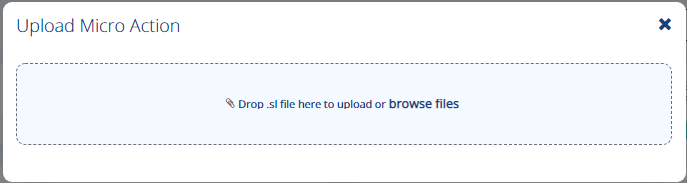
-
You may drag and drop the micro-action (.sl) file or click browse files to select the file from a path. Click Upload. This displays the Micro-actions page to configure the attributes related to the micro-action.
-
Configure the attributes related to the micro-action:
-
Enter/Select the display name, micro action category, and tool tip for the micro-action in Display Name, Select a Micro Action Category and Type in your help text of the micro actions fields respectively.
-
Enter display name, default value tool tip for the input attributes in Display Name, Default Value, and Type in your help text of the micro actions fields respectively.
-
Enter the display name and tool tip for the output attribute in Display Name, and Type in your help text of the micro actions fields respectively.
-
Enter the display name and tool tip for the result attribute in Display Name, and Type in your help text of the micro actions fields respectively.
-
-
Click Save to save the changes.
-
To cancel the configurations, click Cancel.
Related Topics: