Capturing Basic Details of the Project
To create an ITOPs project, perform the following steps:
-
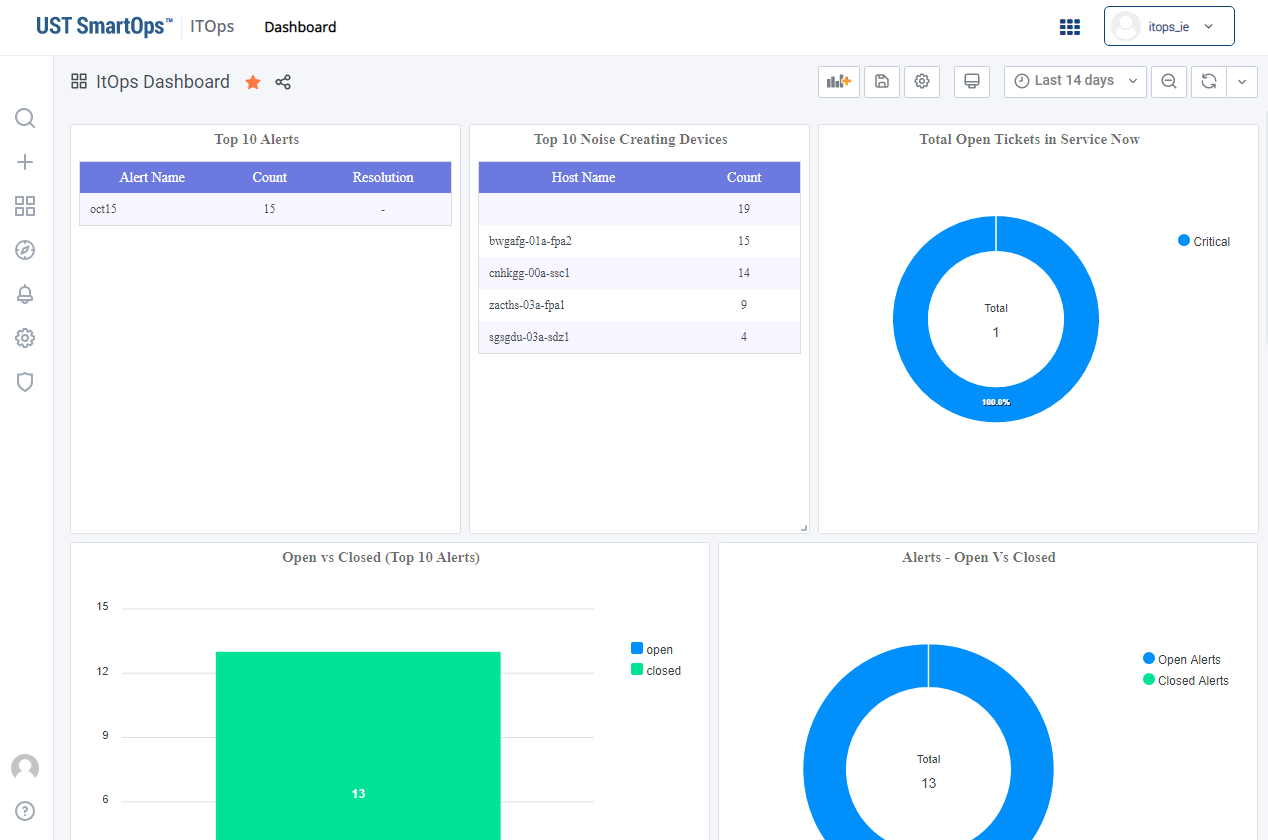
Login to SmartOps ITOPs as an Installation Engineer/Admin user. This displays the ITOPs home page as shown in FigureFigure.
Note: The dashboard corresponding to the saved/favourite project is displayed, by default, if any one of the project is saved as favourite.
-
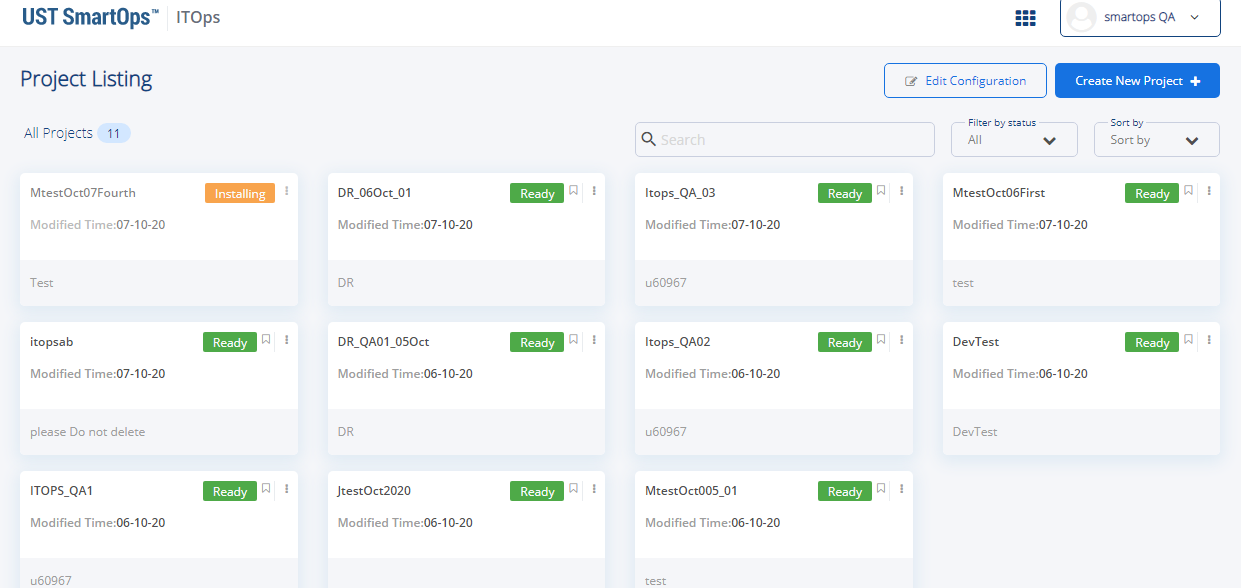
Navigate to the Project Listing page from the home page as shown in FigureFigure.
This displays the project listing page as shown in FigureFigure.-
You may search for the required project from the Search by project name field.
-
You may filter the required project based on status from the Filter By status field.
-
You may sort the projects based on “modified date” or “project name” from the Sort By field.
-
-
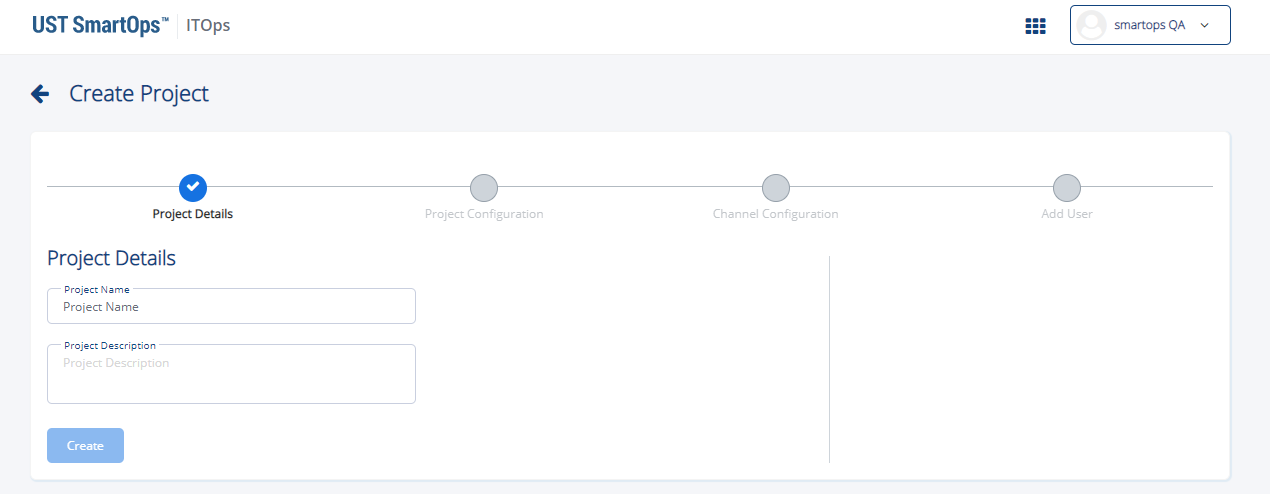
To create a new project, click on
 . This displays the Create Project screen as shown in FigureFigure.
-
Enter the Project Details in the Project Details tab of Create Project screen.
-
Enter the name of the project in Project Name field.
-
Enter a brief description about the project in Project Description field. A message “Project is created successfully is displayed”.
On successful creation of project, you will be navigated to Project Configuration tab of Create Project screen.The project will be available in the Project Listing screen with the status "In Progress". You may click the icon against the corresponding project
to edit/update the project configurations as shown in FigureFigure.
-
See Also:


