E-mail Channel
The email channel excepts incoming messages from the configured outlook email ids.
Installation Engineer can configure email listeners using the Email configuration screen.
In earlier versions of iHub, connection to Office 365 was established by enabling Basic Authentication to access email exchange servers.
With Microsoft disabling its support for Basic Authentication and making Exchange online more secure, iHub
has added OAuth 2.0 authentication mechanism to comply with Microsoft’s secure authentication MS 365 access policies.
OAuth authentication services provided by Microsoft allows iHub to connect with IMAP, POP or SMTP protocols to access Microsoft
365.
iHub implements OAuth 2.0 by calling APIs available through Microsoft Graph.
Note: To access Graph APIs, iHub must be registered with UST Azure AD as one of Microsoft’s client app. Once an app is registered as a client, a client-id, a tenanat-id and a client-secret would be generated for the app.
Using these credentials, email channels can be created in iHub.
As per the new implementation, ‘Create New Email Channel’ in iHub allows users to choose from a list of integration-types
To access IHUB Queue channel, perform the following
steps:
-
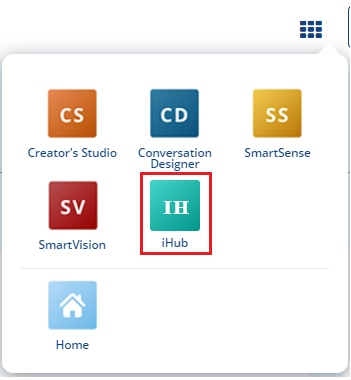
Access SmartOps application.
-
Select IHUB from the menu as shown in FigureFigure:
This displays the IHUB screen as shown: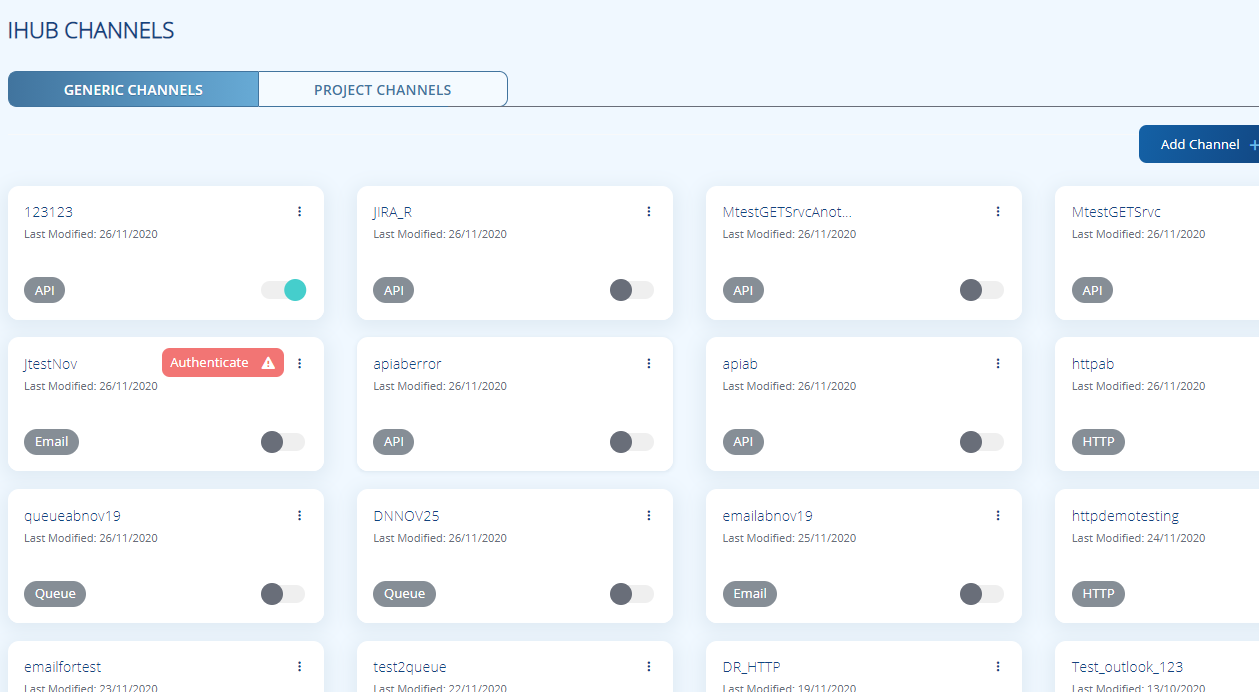
-
Click
 to add a channel. Enter the details as explained below:
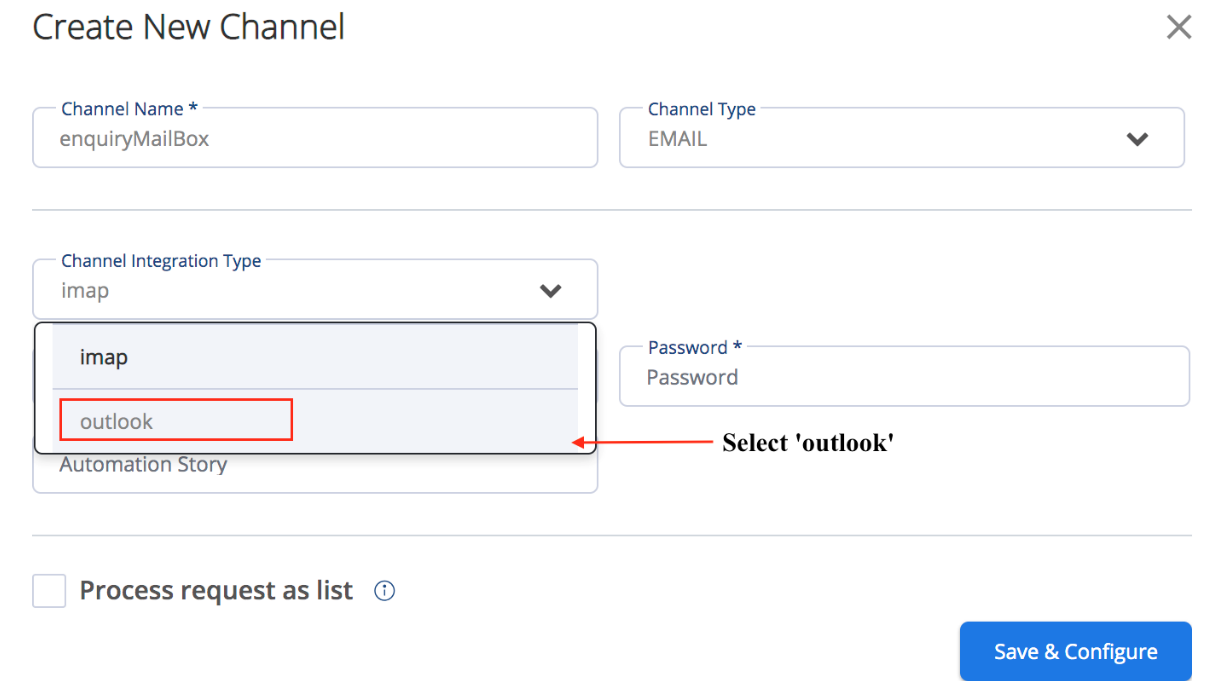
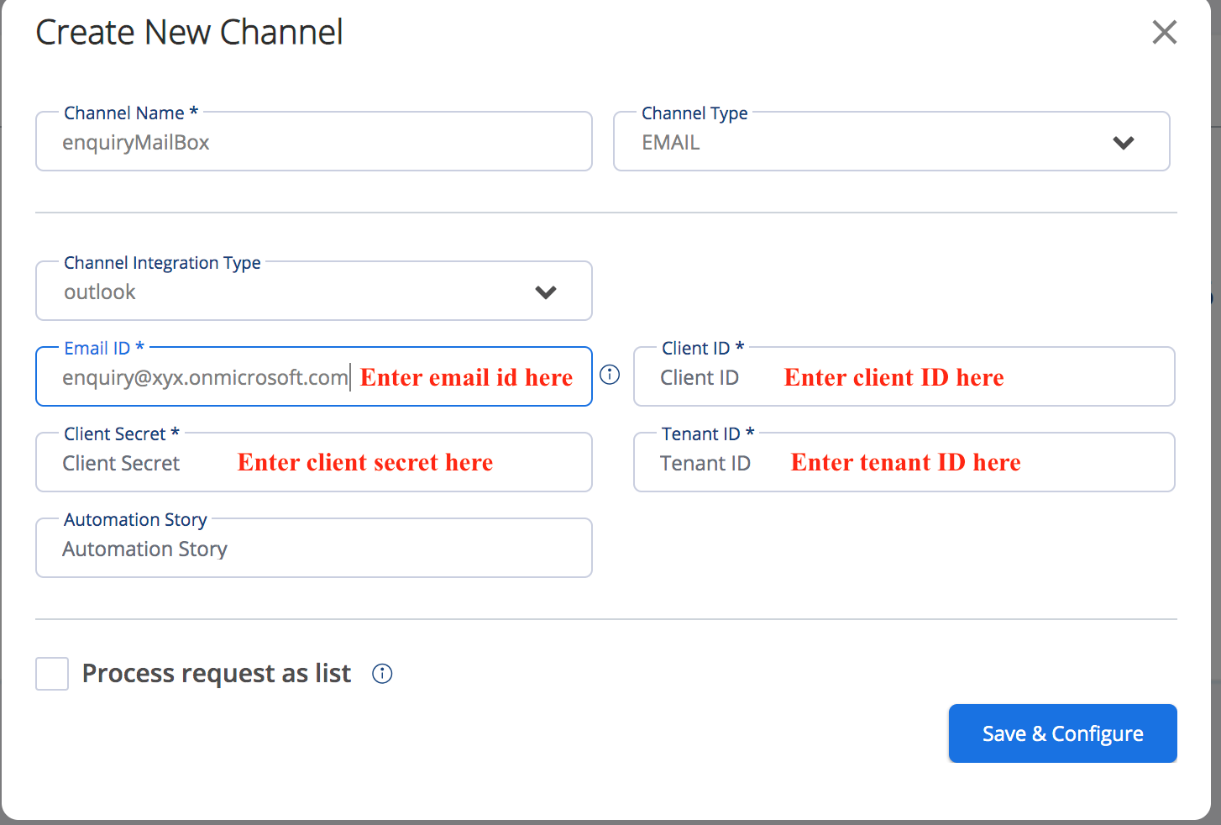
Channel Name:- Any alpha-numeric name
Channel Integration Type:- Select "Outlook” from the “Channel Integration Type” dropdown to configure outlook emails.
Username:- Outlook email ID
Password:- Email Password
Automation Story:- Automation story to be invoked in SmartOps while receiving the request from this email channel.
Process request as list: If this is checked iHub will not split multiple requests that are coming in ihub as multiple SmartOps requests. Rather iHub will include all the requests in a single json array. And this json array will be set inside requestJson -> inputs field of SmartOps json.
Note:- Multi Factor Authentication should be disabled for the configuring emailIds. Also, IMAP should be enabled for the email id.
Fill in fields required for outlook mail
Fill the 4 mandatory fields (Email id, Client Id, Client Secret & Tenant Id). If you want to process the mails as one list, select ‘Process request as list’ check box.
Enter the desired size of the list into the input field next to the checkbox.
Click on ‘Save & Configure’ to save the channel.
Authorize outlook mail channel
Once an outlook channel is saved it will be available in the listing page but its status will be ‘Disabled’. To enable authenticate the channel by clicking on the ‘Authenticate’ button.
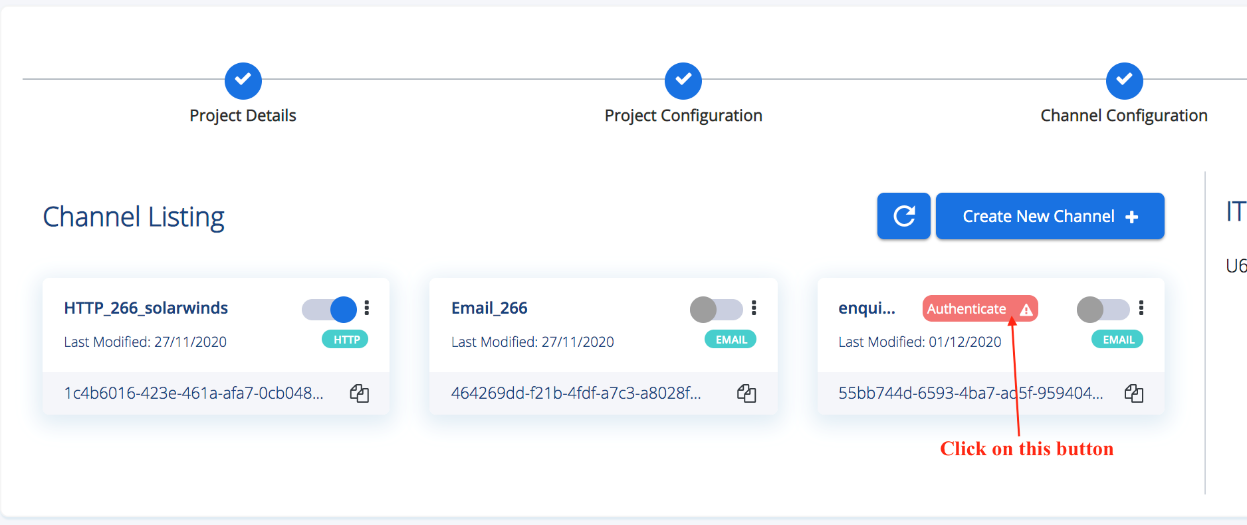
On clicking the ‘Authorize’ button , you will be navigated to a Microsoft login page.
Enter the credential here and sign in.
Note: If all the values we are given are correct (Email id, Client Id, Client Secret & Tenant Id), then an access token will get generated (Microsoft access token generation action happens in back end), and you will be navigated back to the channel listing page.
On successful generation of access token the outlook channel get authenticated and enabled in iHub.
On updating of existing authenticated outlook channel , if any of the values in Client Id, Client Secret & Tenant Id is changed then the channel will become disabled and unauthenticated and the ‘Authorize’ button will appear in the channel listing. Perform the same action mentioned above to get this channel authenticated & enabled.
See Also:
Defining Channel Configuration - E-mail
Related Topics: