Designing a New Skill
To design a new skill, perform the following steps:
-
Access Creator's Studio from SmartOps home page. Dashboard tab of Creator's Studio is displayed by default.
-
Click Design Studio tab. This displays the Studio screen as shown in FigureFigure.
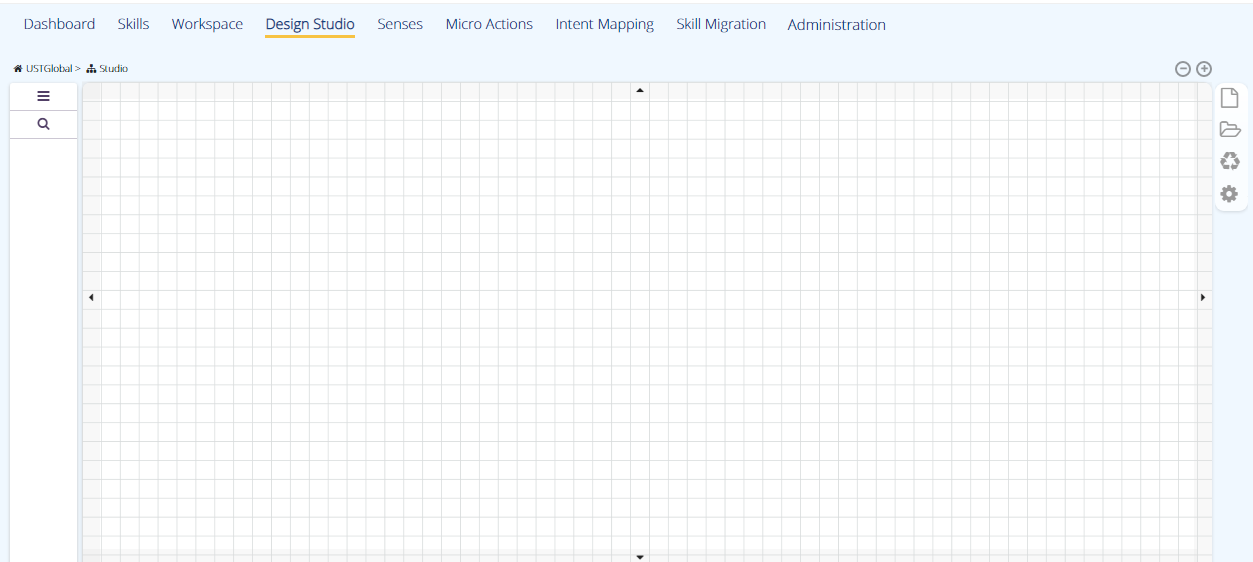
Microaction Types and associated microactionsMicroaction Types and associated microactions
You can view the available micoactions types on the left hand side of the screen as shown:
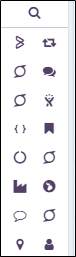
You can view the list of microactions by selecting the required microaction type as shown: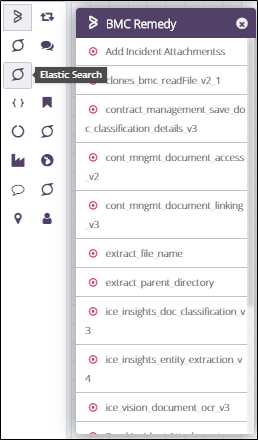
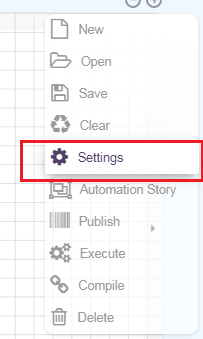
You can view the menu option on the right hand side of the screen. The options and description is provided in the tab as explained in the table below.
Field
Description

Enables to create a new skill. You may select from the available types of skills.

Enables to open an existing skill.

Enables to clear the canvas.

Enables to configure the settings related to skills.

Enables to save the skills created or updated.

Enables to map automation stories.

Enables to publish the skill.

Enables to execute the skill.

Enables to compile the skill.

Enables to delete the skill.
Design Pane/canvas enables you to design the skills.
-
To design a new skill, select the New option provided on the right side of the Studio pane as shown in FigureFigure.
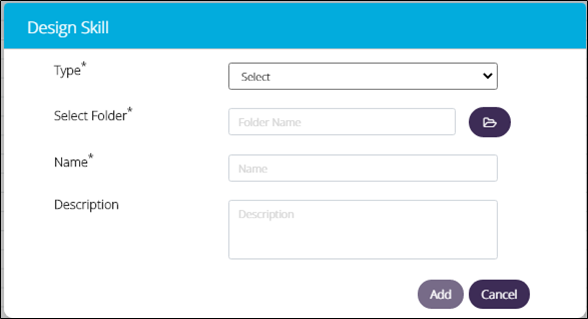
This displays the Design Skills window to capture basic details of the skill as shown.
-
Select the type of skill from Type field. Available options are:
-
Cognitive Flow
-
Scheduling
-
Others
-
-
Select the required folder to save the file in Select Folder field.
-
Enter the name of the skill in Name field.
-
Enter a bried description for the skill in Description field.
-
Click Add.
-
-
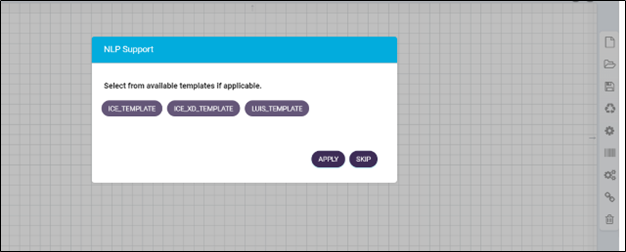
Drag and drop desired micro actions from the left micro actions pallet OR use ICE/LUIS/ICE XD predefined templates to build cognitive skills as shown in FigureFigure.
-
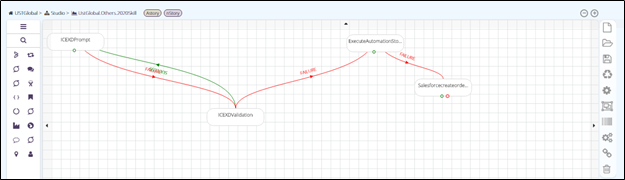
Use click & release mechanism to establish connections between micro actions. Click and release control on ‘from’ node, then drag the connector to the ‘to’ node as shown in FigureFigure.
-
Indicate the start of the skill with the ‘Mark as start’ option as shown in FigureFigure.
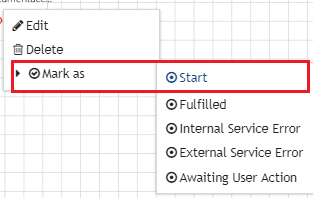
Similarly, you may mark the microaction as "Fulfilled", "Internal Service Error", External Service Error", and "Awaiting User Action".
-
To configure micro action attributes and outcome parameters, select the Settings option as shown in FigureFigure.
This displays the Settings window as shown.
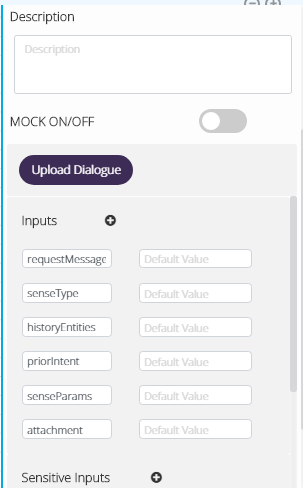
Configure the input and outcome parameters, as per requirement. -
To save the skill, click Save.
-
To compile the skill created, click Compile.
-
To execute the skill, click Execute.
-
To publish the skill, click Publish.
Related Topics: