Creating a DU Project
To create a DU project, follow the steps:
-
Login to SmartOps as an Installation Engineer User.
-
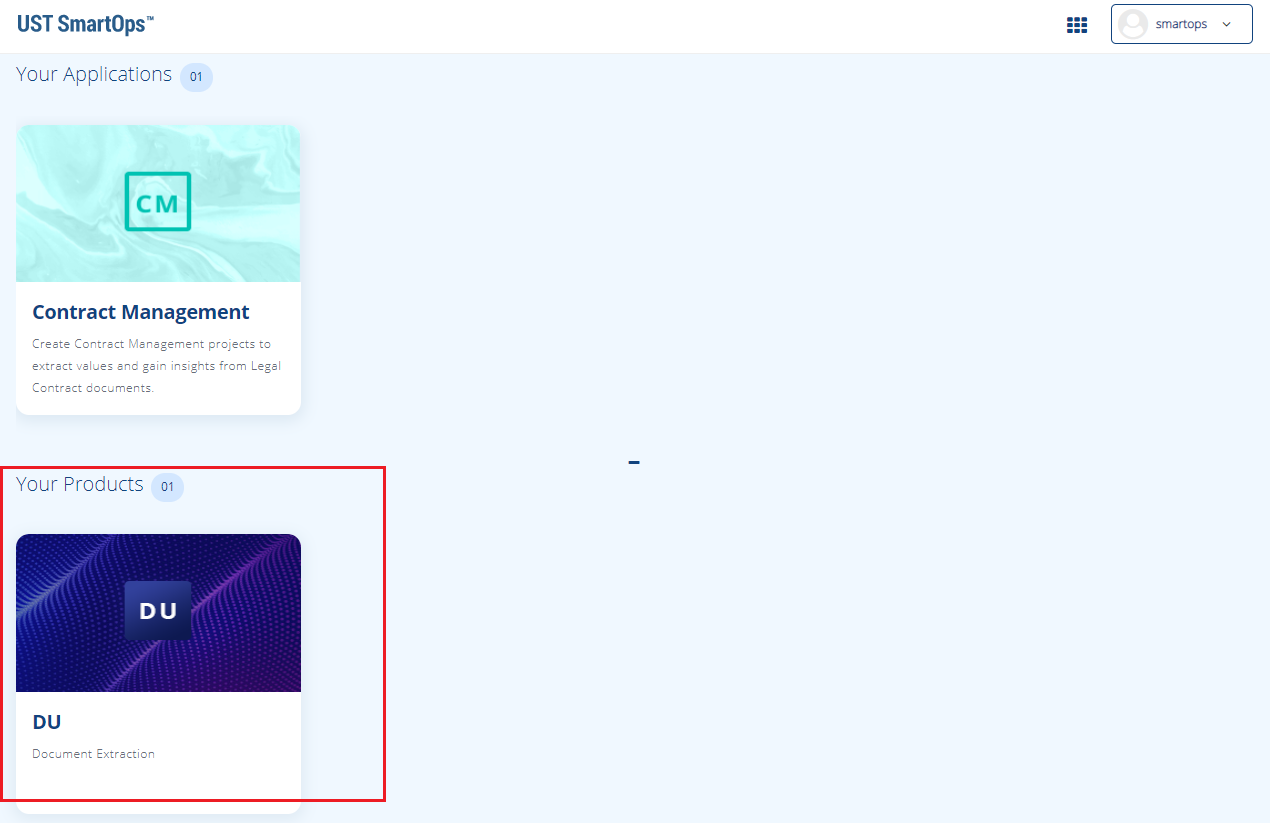
Select the Document Understanding menu from SmartOps home page as shown in FigureFigure.
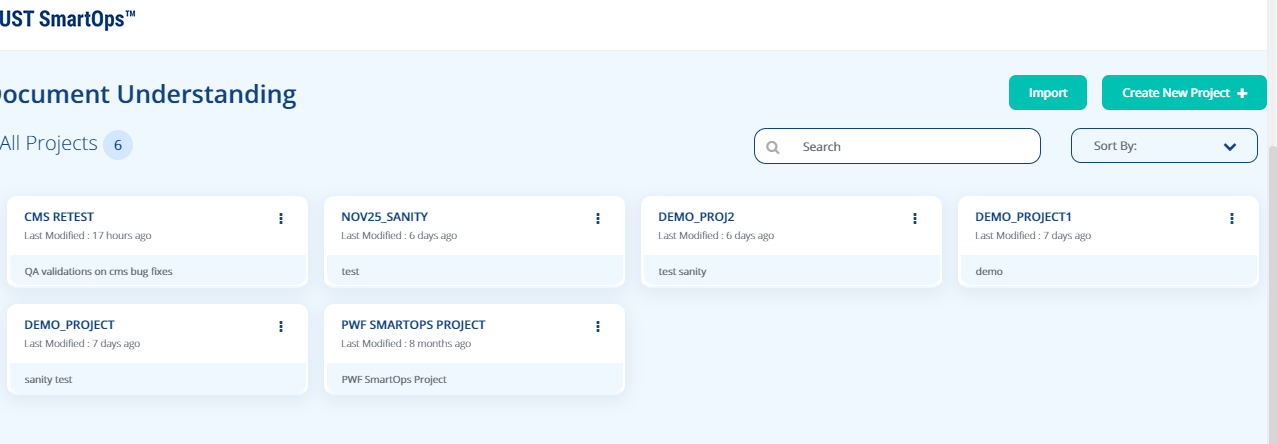
This displays the Project Listing page as shown.
-
To import a DU project, click on Import. Drop .json files or upload the required file.
-
To create a new project, click on Create New Project. This displays the Create Project screen as shown in FigureFigure.
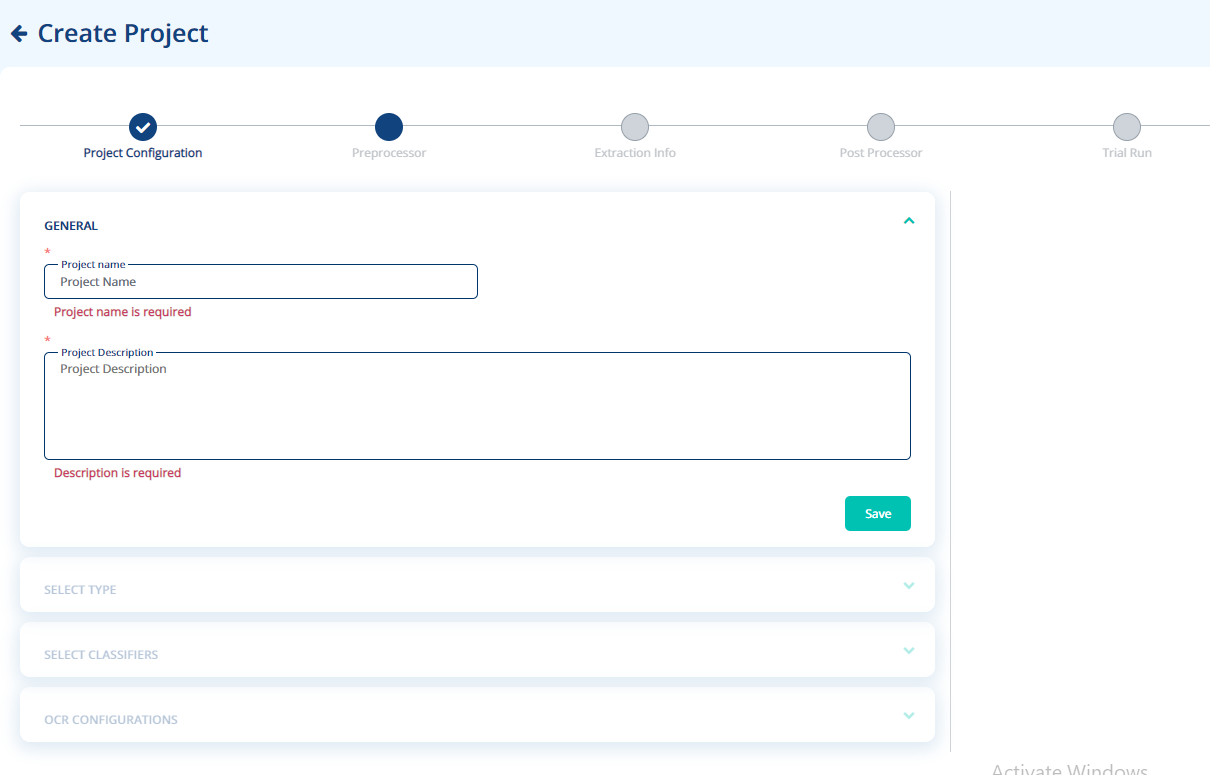
Project Configurations
-
Enter the basic details related to the project in Project Details tab:
-
Enter the name of the project in Project Name field.
-
Enter a brief description in the Description field.
-
-
Select the Document Type as follows:
-
Location includes India, US and Singapore, and Other.
-
Domain includes KYC, Legal and Finance
-
Document Type includes Addendum, Invoice, Master Service Agreement, Others, PAN, Stakeholder Reports, SOW, and Unclassified.
-
You may also enter a new document type in Enter New Document Type field and click on the corresponding
 icon.
icon.
-
-
Click Save to save the Select Type configurations.
-
Select the required classifier from the Select Classifiers block. Available options are CMS Document Classifier and Language Classifier.
-
Click Save to save the Select Classifiers configurations.
-
To enable Tesseract model, select the option from OCR Configurations block.
-
Click Save to save the OCR Configurations configurations.
Preprocessor -
Select the required pre-processors from the Select Pre Processor fields as follows:
-
Barcode Page Split: Identifies and splits the invoices if single file consists of multiple invoices.
-
Orientation Correction: Identifies and corrects orientation issues of the document for better accuracy in text extraction.
-
Grayscale: Converts the documents to grayscale. Greyscale image is a kind of black and white or gray monochrome, composed exclusively of shades of gray. The contrast ranges from black at the weakest intensity to white at the strongest.
-
Binarization: Converts the document to binary. A binary image consists of pixels that can have one of exactly two colors, black and white. The process is based on the parameter “Threshold”. Valid values are within the range of 1 – 255 and any pixel above threshold value will be converted to white and others to black.
-
External REST Call: Invokes a REST API service to process the document.
-
-
Click Save to save the configurations.
Extraction Info
-
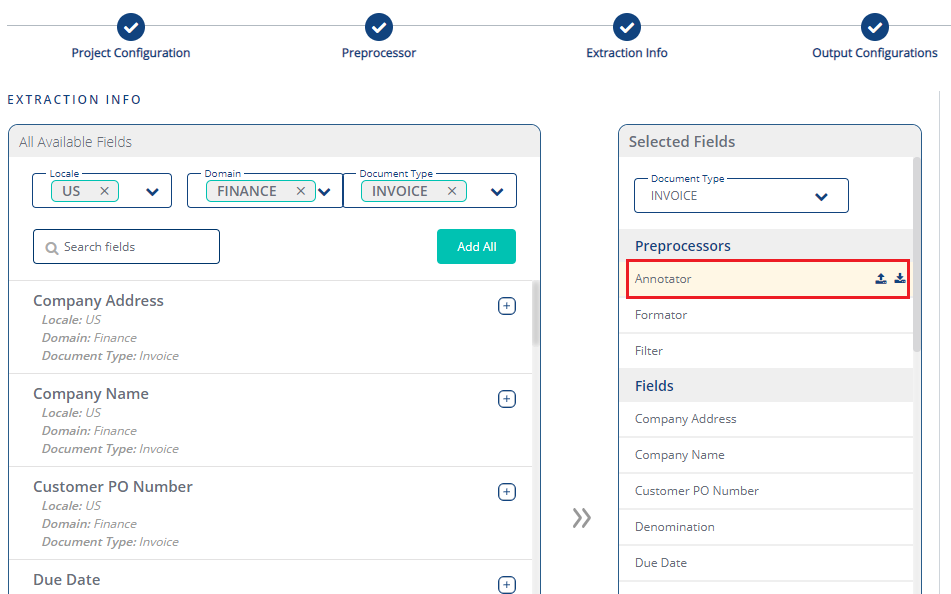
You may manage the required fields and preprocessors from Extraction Info block as shown in FigureFigure.
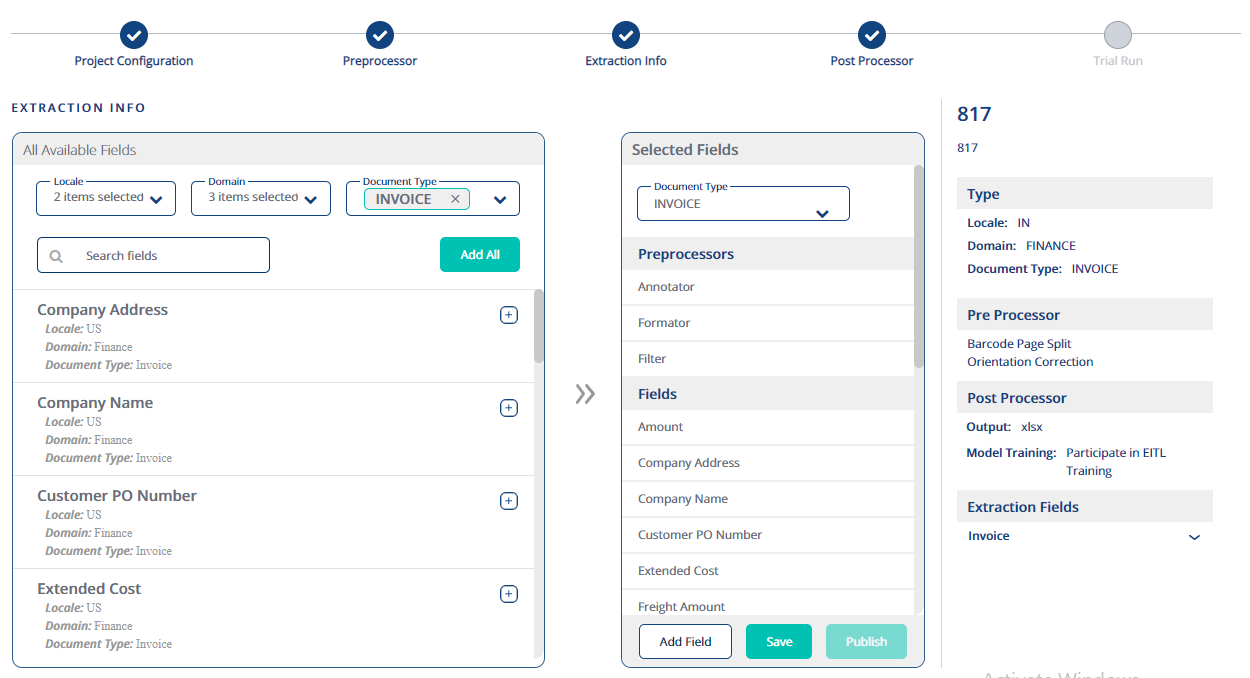
By default, Locale, Domain, and Document Type selected in Project Configuration tab will be displayed.To add a new field, select the required Locale, Domain, or Document Type and click on the
 icon corresponding to the required field. The field will be available in the right pane.
To delete/edit a field click on the
 or
or  icon respectively corresponding to the required field as shown in FigureFigure.
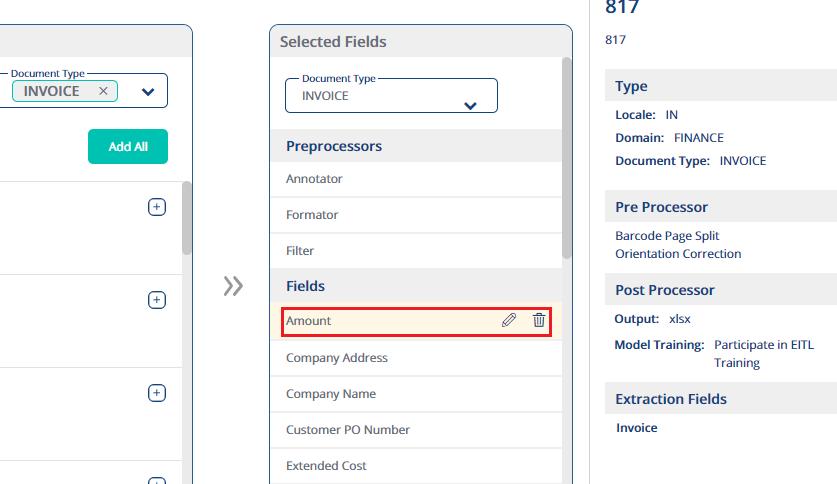
You may also edit the Preprocessor by hovering over the required option as shown in FigureFigure.
Post Processor -
Select the output as xlsx.
-
Select the Model Info in the Model Info tab. Model Info is for considering data in the project for Training purpose.
-
Click Save to save the configurations.
Related Topics: